Auto balancing 7 hours tests between 100 parallel jobs on CI - Buildkite example
I like tests. You may like them too because thanks to them you are not afraid to change the code. Tests can help you catch errors earlier. I like tests, even more, when they are fast.

In large projects tests tend to get bigger and bigger, your test suite starts taking dozens of minutes, then hours. We want to have feedback loop during development and testing short so with big test suites, we go for parallelism.
Test suite parallelism
We can split tests across multiple CI nodes to get faster feedback. There are a few ways how to do it, most common are:
Simple methods of distributing tests across CI nodes:
- Split tests based on type. For instance, we run unit tests on first CI node and feature tests on second CI node.
- Split tests based on directory or file names, or number of test files
Advanced methods of distributing tests across CI nodes:
-
Split tests based on time execution and running predetermine subset of tests per CI node.
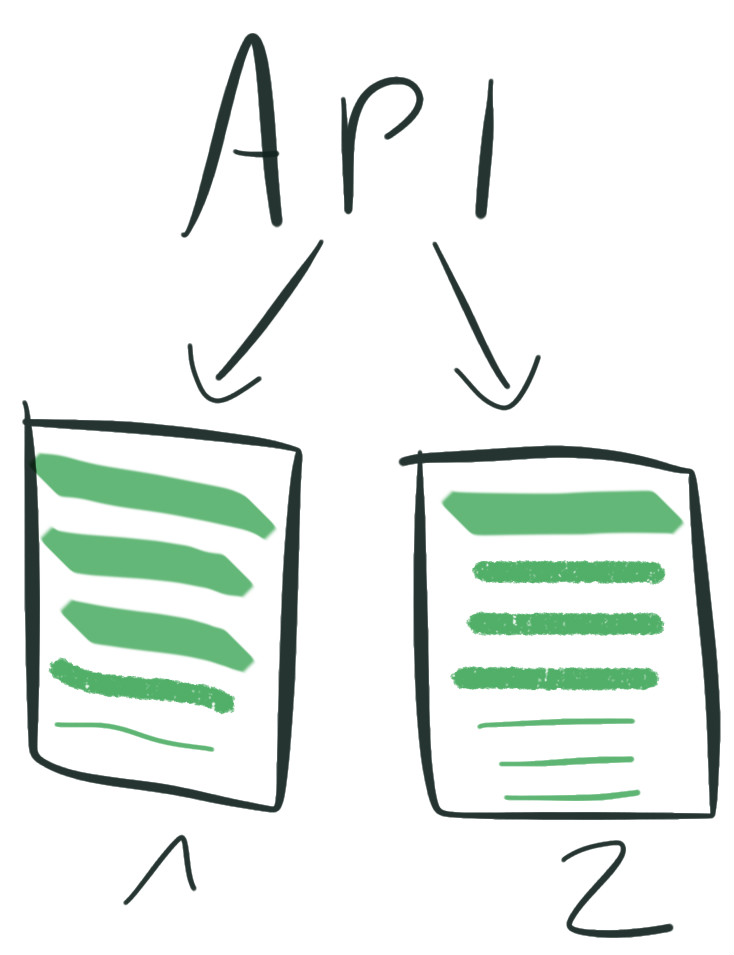
This way we should get similar time execution on each CI node. But there are cons of this approach. Sometimes tests took different time because of bad CI node performance or the nature of the test like testing external API or feature tests clicking on the website that could take random time.
-
Dynamic tests split is a way based on recorded tests time execution and work queue.
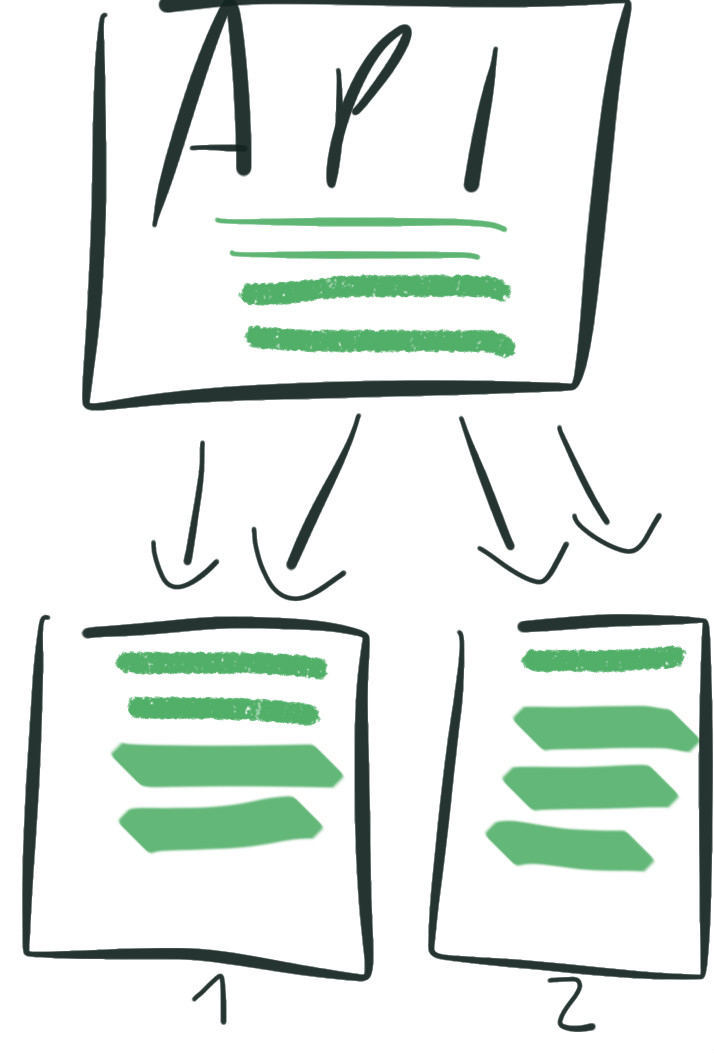
Each CI node gets subsets of the test suite from the work queue until the queue is empty. This way we have faster, more efficient tests distribution across CI nodes. There is no bottleneck when one of our CI nodes has worse performance. It will just do less work than others but in the end, we developers get feedback about test suite passing or not as soon as it is possible.
The story of knapsack

In 2014 I started working on predetermine test suite split solution based on tests time execution. In 2015 I developed more advanced solution called Regular Mode built into the gem knapsack_pro to track tests time execution across commits and branches.
In late 2016 I created the early version of dynamic test suite split solution based on tests time execution and work queue. Early 2017 I started testing it on large projects with a few companies. It happens the largest projects were using the Buildkite.com CI provider. I’m going to show you why and how to run insanely fast test suite there.
What is Buildkite.com
Bulidkite gives you separation between CI web interface and the build infrastructure. Basically, you can run your tests on any machine with an installed buildkite agent. It can be cloud like AWS or your VPS or even your Mac or Windows. You can save a lot of time of booting your CI nodes with Buildkite because you can keep artifacts like installed gems, migrated DB etc on your machine unlike other CI provider do by uploading them to external store and booting CI node from scratch with every new run.
Another nice thing about Buildkite is the fact that buildkite agent (CI node) starts work as soon as something is available. There are no locked CI nodes that just finished subset of CI build and waiting until whole CI build is completed.
There is one more useful thing which is retry failed CI node feature. You can just retry only single CI node with failed tests instead of scheduling a completely new build and rerunning what already passed.
How to run 7 hours build across 100 parallel jobs with knapsack_pro gem?
We are going to use knapsack_pro gem with Queue Mode for RSpec. You can find here info how to add it to your Gemfile and install knapsack_pro for your project.
Knapsack Pro supports buildkite environment variables to determine git commit, branch name and number of parallel jobs. The only thing you need to do is to configure the parallelism parameter in your pipeline step and run the appropriate knapsack_pro command.
Create pipeline:
If you have an account in Buildkite then you need to create a new pipeline for your project.
You will have to provide a project name and git repository for the code checkout.
Set step command:
- Commands to run:
bundle install && bundle exec rake db:reset && bundle exec rake knapsack_pro:queue:rspec - Label:
RSpec in Queue Mode - Environment Variables:
KNAPSACK_PRO_TEST_SUITE_TOKEN_RSPEC=462c48d886ab38ddcdb81d379379e639 - Parallelism:
100
In environment variables, we set Knapsack Pro API key KNAPSACK_PRO_TEST_SUITE_TOKEN_RSPEC per step command. You can obtain API key here.
When everything is filled you can save your pipeline and run your buildkite agents across your CI nodes. Push a new commit to your repository and allow it to pass. The first CI build run will record time execution of your tests and saves it to Knapsack Pro API.
Go to user dashboard and click build metrics link next to your API token. Click show link on the recent build and ensure the time execution data were recorded for all your CI nodes. You should see info that build subsets were collected.
From now on you can run your tests with optimal test suite split thanks to dynamic tests allocation across CI nodes. The second commit pushed to repo should have better auto balancing time because Knapsack Pro API can use time execution recorded in the previous run to prepare better work queue.
I tested this with a company who has a large test suite ~7 hours and the average time execution per CI node was ~4 minutes. That is pretty nice and insanely fast pipeline for such large test suite. I’m curious how it will work with your project.
What else can I learn?
- See an example repository of how to run Rails CI with Knapsack Pro and test steps in parallel with Buildkite. Here is an example for Docker, Knapsack Pro and Buildkite.
- What is optimal order of test commands?
- Learn more about Knapsack Pro parallelisation
- Compare Buildkite to other CI solutions, including Buildkite vs Jenkins, Buildkite vs CircleCI, and Buildkite vs GitHub Actions.
